
Let’s be honest — greenhouses are busy places. Plants grow, people work, water splashes, and soil gets everywhere. In the middle of all that activity, it’s easy to overlook cleaning and disinfecting. But here’s the catch:
A dirty greenhouse is a pest paradise.
Fungi, bacteria, and insect eggs thrive in leftover soil, plant debris, and moist corners. That little pile of dead leaves in the corner? It could be harboring botrytis spores. The drip line caked with algae? It’s an open invitation for fungus gnats.
Sanitation isn’t just good practice — it’s your first line of defense. Let’s break down exactly how to keep your greenhouse clean, disease-free, and productive.
Why Cleaning and Disinfection Matter in Greenhouses
Pests and diseases don’t need much to get started. Just a bit of decaying plant matter or a damp spot on a bench is enough to start a full-blown outbreak.
Poor sanitation increases risk of:
Fungal diseases like powdery mildew, botrytis, and damping-off
Bacterial infections in seedlings and foliage
Pests like aphids, thrips, fungus gnats, and whiteflies
Algae growth that clogs irrigation and attracts bugs
One commercial grower in Florida found that simply removing plant waste weekly reduced their aphid infestations by 40%. Sanitation works.
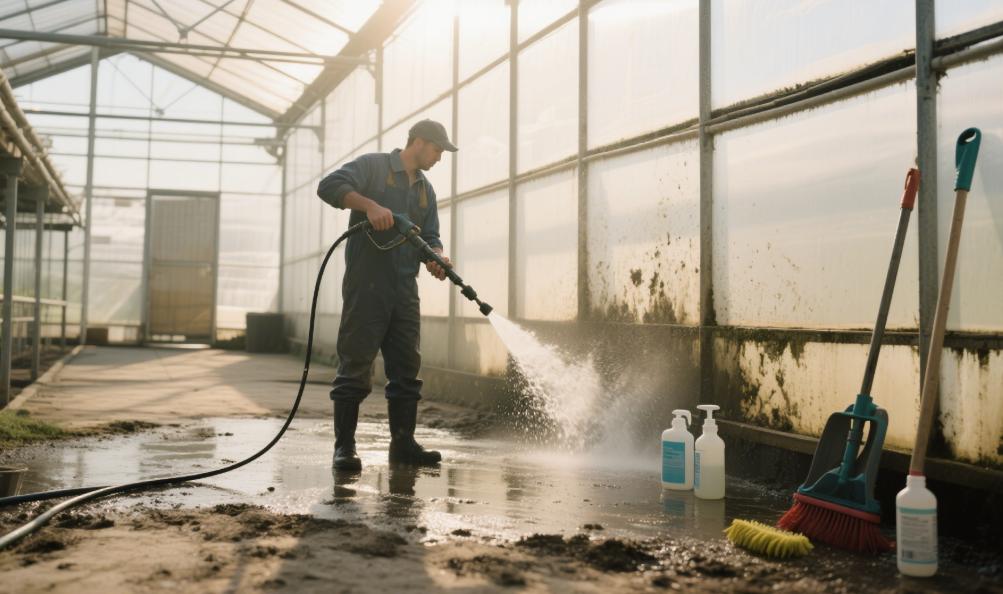
Step 1: Start With a Clean Slate — Deep Cleaning Between Crops
The best time to do a full clean is between crop cycles. Take this opportunity to hit reset before introducing new plants.
Your checklist:
Remove all plant debris, soil, mulch, and dead material
Clean benches, walkways, and under tables
Disassemble and wash irrigation lines and trays
Pressure wash floors and structural elements
Inspect and clean vents, fans, and filters
In Australia, a tomato greenhouse started steam cleaning its floors every off-season and cut fungal outbreaks in half.
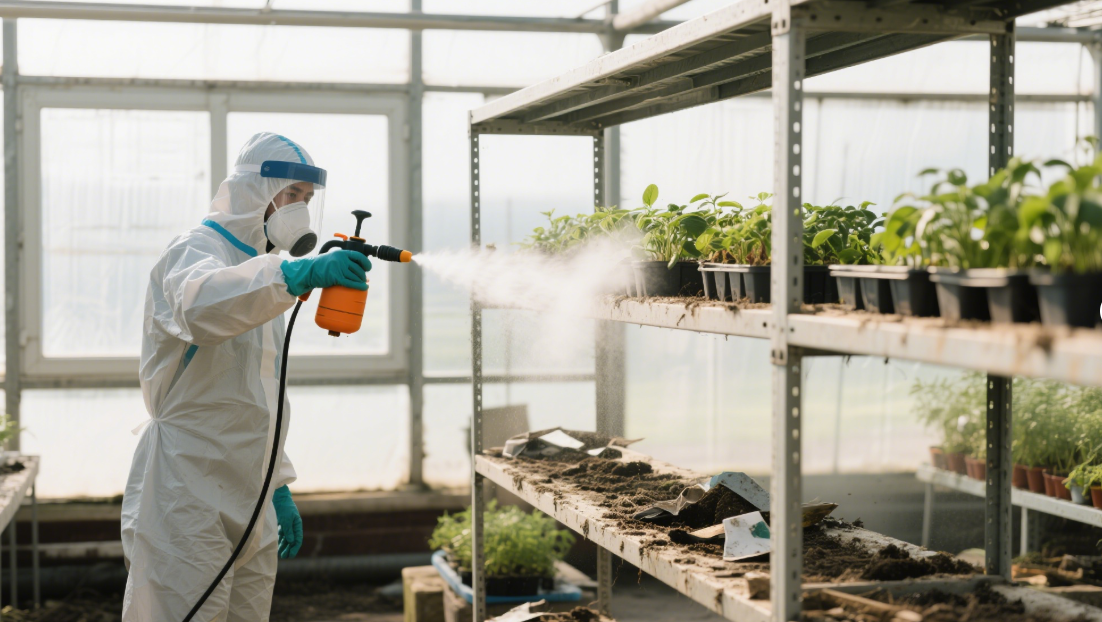
Step 2: Choose the Right Disinfectants
Not all cleaning products are created equal. A good disinfectant should kill pathogens without damaging plants, equipment, or harming the environment.
Popular choices include:
Hydrogen peroxide: broad-spectrum, leaves no residue
Quaternary ammonium compounds (quats): effective, but rinse well before replanting
Peracetic acid: organic-friendly, biodegradable
Chlorine bleach: cheap and strong, but corrosive and needs careful handling
Apply using sprayers, misters, or foggers. Always wear gloves and follow the dilution and contact time on the label.
At Chengfei Greenhouse, staff use a rotating system of hydrogen peroxide and peracetic acid to avoid resistance and ensure full-spectrum coverage.
Step 3: Target High-Risk Zones
Some areas are more likely to host trouble. Focus your cleaning efforts on these zones:
Benches and potting tables: sap, soil, and spills build up fast
Irrigation systems: biofilms and algae can block flow and carry bacteria
Propagation zones: warm and humid, ideal for damping-off
Drainage areas: mold and insects love moist corners
Tools and containers: pathogens hitch a ride between plantings
Disinfect tools regularly with a quick dip in hydrogen peroxide or bleach solution, especially when working with sick plants.
Step 4: Control Moisture and Algae
Moisture equals microbes. Wet spots in your greenhouse can quickly lead to disease and pest buildup.
Tips to keep things dry:
Improve drainage under benches and walkways
Use capillary mats or gravel instead of standing trays
Fix leaks quickly
Limit overwatering and clean up spills immediately
Remove algae from walls, floors, and plastic covers
In Oregon, one herb grower installed gravel-covered drains beneath benches and completely eliminated footpath algae — making the space safer and drier.
Step 5: Quarantine New Plants
New plants can bring uninvited guests — pests, pathogens, and viruses. Don’t let them go straight into your production area.
Set up a simple quarantine protocol:
Isolate new plants for 7–14 days
Monitor for signs of pests, mold, or disease
Inspect root zones and undersides of leaves
Treat with a preventive spray if needed before moving to main greenhouse
This one step alone can stop a lot of problems before they start.
Step 6: Sanitize Frequently Used Tools and Equipment
Every tool you use can carry spores or insect eggs — from pruners to seed trays.
Keep tools clean by:
Dipping in disinfectant between batches
Using separate tools for different zones
Storing tools in a dry, clean area
Washing trays and pots after every cycle
Some growers even assign color-coded tools to specific greenhouse areas to avoid cross-contamination.
Step 7: Make Sanitation a Routine, Not a Reaction
Cleaning isn’t a one-time job. Make it part of your weekly routine.
Create a schedule:
Daily: remove dead leaves, wipe spills, inspect for pests
Weekly: clean benches, sweep floors, sanitize tools
Monthly: deep clean trays, hoses, filters, fans
Between crops: full disinfection, top to bottom
Assign specific cleaning duties to staff and track them on a whiteboard or shared calendar. Everyone plays a role in pest prevention.
Sanitation + IPM = Super Defense
Clean spaces discourage pests — but combine that with good Integrated Pest Management (IPM), and you get powerful, chemical-free control.
Sanitation supports IPM by:
Reducing breeding sites
Lowering pest pressure
Making scouting easier
Enhancing biological control success
When you clean well, beneficial insects thrive — and pests struggle to gain a foothold.
Cleaner Greenhouse = Healthier Plants, Better Yields
The payoff for consistent greenhouse cleaning and disinfection? Stronger crops, fewer losses, and better quality. Not to mention fewer pesticide applications and happier workers.
It’s one of the easiest ways to level up your operation — and one of the most ignored. Start small, stay consistent, and your plants (and customers) will thank you.
Welcome to have a further discussion with us.
Email:Lark@cfgreenhouse.com
Phone:+86 19130604657
Post time: Jun-06-2025


 Click to Chat